The Different Ways to Compost at Home
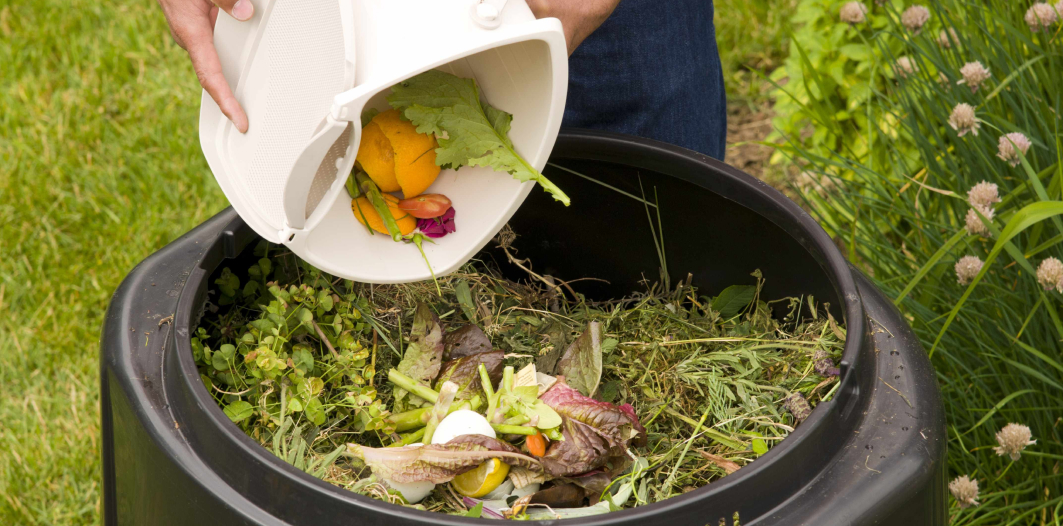
If you are concerned about climate change and looking for ways to do better for our planet, home composting may have crossed your mind. Today, we’ll explore the best ways to compost at home.
You’ll learn what products can be composted and, perhaps more importantly, what compostable products must be disposed of through an industrial composting program.
Ready to get dirty? Let’s dig in!
Benefits of Home Composting
Home composting has many benefits. It’s super easy to do and requires little investment. As an added benefit, you’ll reduce the amount of waste going into landfills and transform much of what you discard into a nutrient-rich substance that will help you grow incredible flowers and vegetables and make your lawn (if you have one) the envy of the neighborhood.
Your first batch of home compost might take a few months to be ready, but once it’s started, you can be confident of a consistent supply to feed your garden for years to come.
Home Composting Methods
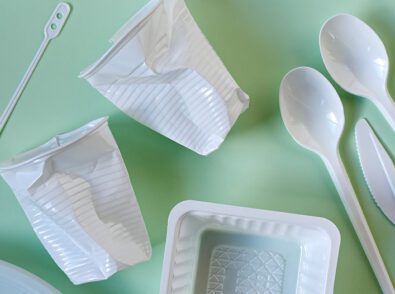
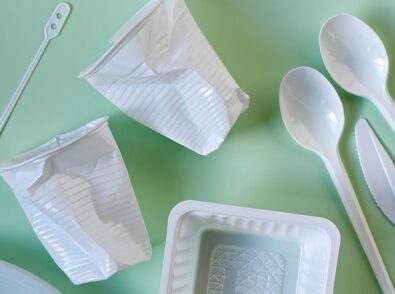
The two main methods of home composting are hot composting and vermicomposting. It should be noted that not all compostable products can be put into your home compost. Compostable plastics, for example, require much higher heat to break down and must be disposed of through your curbside green bin program.
Hot composting
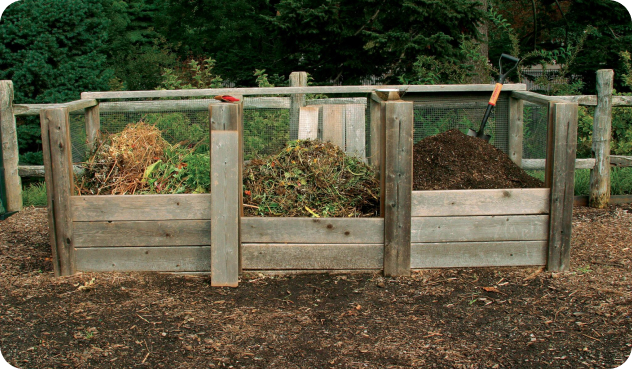
Hot composting takes about three months to yield a viable batch of compost. You can start with a fairly large, enclosed bin or tumbler or build a wooden enclosure that’s open on the bottom. Lay straw or twigs on top of bare earth and add compost material in layers, alternating dry (sawdust, wood ashes, straw) and moist (kitchen scraps, tea bags, coffee grounds). Add green manure (chicken manure is recommended, but generally, manure from any non-carnivorous animal is okay) to encourage nitrogen activity. You’ll need to keep the pile moist but not wet, keep it covered, and turn it every few weeks with a shovel, hoe, or pitchfork.
Vermicomposting
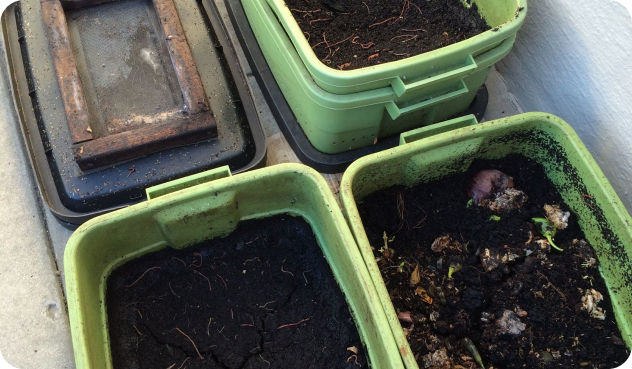
Vermicomposting uses a particular type of worm (redworms) to break down the compost material. The worms eat your food scraps, releasing nitrogen in the process, which feeds the microorganisms involved in breaking down the material. You can purchase redworms at just about any garden supply store. Because vermicomposting is usually done in smaller containers, you can have a decent batch of compost in just six to eight weeks.
Alternatively, you could choose to cold compost. On the plus side, cold composting requires the least effort—but it also takes the most time. It could take up to a year to achieve results. The method is quite simple, however: simply put your stuff in a pile and wait.
How To Start Composting at Home
- Locate a composting center near you
- Check your labels and sort the products
- Clean and prepare as necessary
Home composting sometimes gets a bit of a bad rap. Some common misconceptions include that it smells, is messy, attracts vermin, and is complicated—all of which can be true if it’s not done properly.
What do you need to home compost?
You’ll need a compost bin or container. Where you live and the amount of outdoor space you have will inform the type of bin you choose. Keep in mind that turning a compost pile can strain your back, so if you have issues of that nature, a tumbler or worm bin might be the best choice.
Tumblers also have the advantage of maintaining higher temperatures within the bin, which may yield finished compost much faster.
- If you live in the city and have little or no outdoor space, a worm bin is probably your best bet.
- Choose a worm bin or compost tumbler for apartment dwellers or homes with smaller outdoor spaces.
- Larger or rural properties with ample outdoor spaces can choose an enclosed compost bin, tumbler, or an open pile.
Most kitchen and yard waste can be disposed of in your home compost bin or pile. If you are doing a hot compost and combining kitchen waste with some yard waste (leaves, grass clippings, etc.), a good rule of thumb is to use two-thirds brown and one-third green materials.
Brown materials provide carbon, while green lends nitrogen. To keep your compost pile healthy, it should have more carbon than nitrogen. Too much nitrogen will make your compost too dense. If it’s too dense and heavy, air will not circulate through it, the mass will become quite odiferous, and it will take a very long time to decompose.
What Products Can Be Composted?
Here is a list of items that can be composted in your home composter, separated into “green” and “brown” categories:
Brown (carbon)
- Cardboard
- Newspaper
- Shredded paper
- Straw
- Hay
- Twigs, leaves, and woody pruning debris
- Sawdust
- Dryer lint
- Pine needles
- Corn cobs
- Coffee grounds
- Wood ash
- Wood chips
- Wood pellets
- Bamboo
- Dry pasta
- Nut shells
- Hair
- String, twine, natural fibers
- Cotton balls
Green (nitrogen)
- Table scraps (no meat, fish, or bones unless you are using a composter specialized for that type of use)
- Tea leaves
- Seaweed/kelp
- Lawn clippings
- Weeds that have not gone to seed
- Flowers & cuttings
- Chicken poop (avoid pet waste if you intend to use your compost on food plants)
Good to know
- Egg shells are also okay; they are considered neutral in terms of carbon/nitrogen.
- Don’t put banana peels or inedible fruit rinds into compost as they may have pesticide residue.
- Do not compost waste from black walnut as it is invasive.
- Do not dispose of diseased plants or clippings in compost.
- If composting sawdust, be sure it is clean and free of oil residues.
Home Composting vs. Industrial Composting: What’s the Difference?
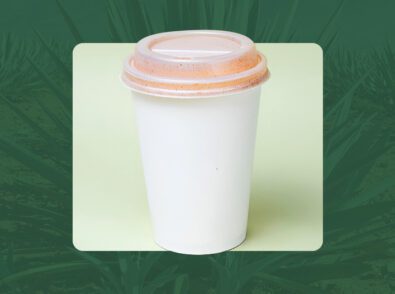
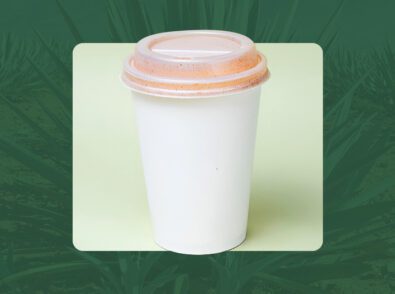
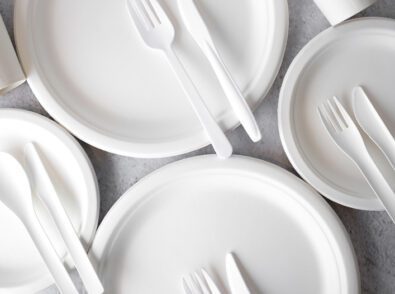
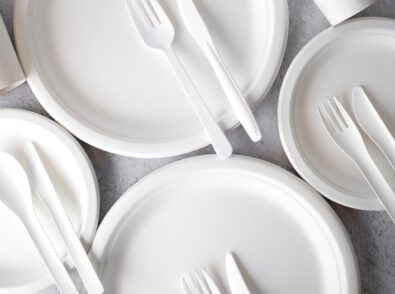
Industrial composting is a process used in your municipal (curbside) composting program. These methods use high heat to process compostable products. Therefore, a wider variety of items are acceptable. Bioplastics, for example, can only be recycled through an industrial composting facility.
Here is a list of compostable items that should not go into your home compost bin:
- Bags or other food packaging products marked as “compostable”
- Any compostable bioplastics
- Meat, fish, animal waste, bones
- Dairy products
- Oils
The heat you’ll generate through your home composter won’t be enough to break down the above materials, so it’s critical to ensure you continue to dispose of such products in your curbside bin.
Happy composting!
References
- https://www.wired.com/story/home-composters-buying-guide/
- https://www.finegardening.com/article/hot-composting-vs-cold-composting
- https://rodaleinstitute.org/science/articles/vermicomposting-for-beginners/
- https://compost.css.cornell.edu/chemistry.html
- https://www.planetnatural.com/composting-101/making/what-to-use/
- /nitrogen.
- https://mochni.com/difference-between-home-compostable-and-compostable-packaging/
- https://www.extension.iastate.edu/smallfarms/dos-and-donts-composting

