

Worm Composting: How to Start a Worm Bin at Home
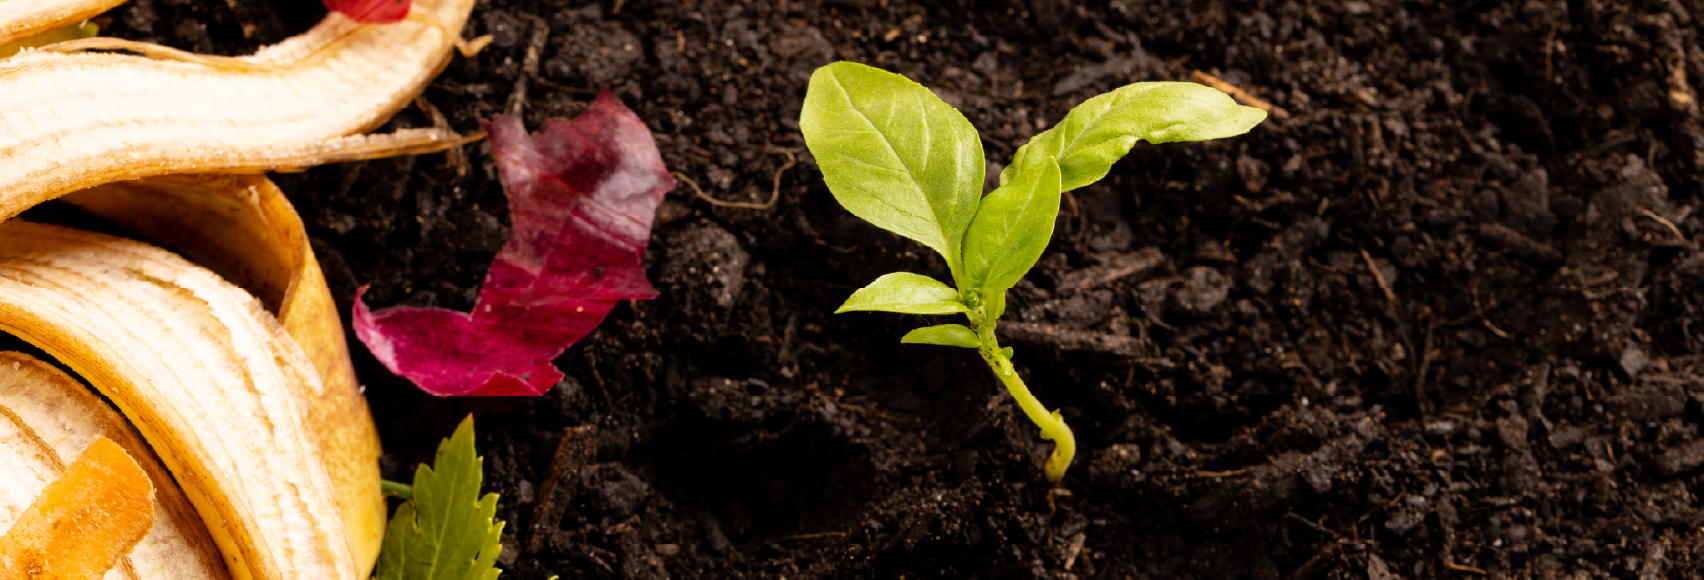


Worm Composting: A Beginner’s Guide to Vermicomposting
Worm composting turns your kitchen scraps into rich plant food, right inside your home. You don’t need a yard, a big pile, or a pitchfork. This guide shows you how to pick worms, set up a bin, feed it, and harvest the finished compost.
What Is Worm Composting?
Worm composting, also called vermicomposting, uses worms to break down food scraps and paper. The worms eat the scraps and leave behind castings, which is a polite word for worm manure. The finished mix of castings and broken-down bedding is called vermicompost.
The process is simple. You add scraps to a bin of damp bedding, and microbes start to soften them. The worms eat the softened food along with those microbes, then leave castings behind.
Over time, the bedding and scraps become dark, crumbly vermicompost. Worms do this work at room temperature. That sets worm composting apart from hot backyard piles and large-scale commercial composting, which both rely on heat.
Why Choose Worm Composting Over a Compost Pile?
Worm composting for beginners is a practical starting point because it fits almost anywhere. A bin can sit under a sink, in a closet, or on a balcony. You get compost without giving up the space a backyard pile needs.
A worm bin also asks less of you. You never turn it with a fork, because the worms do the mixing. CalRecycle reports that worms turn food waste into compost faster than a traditional pile.
Every scrap you feed your worms is a scrap that stays out of the landfill. That habit pairs well with other sustainable home habits, like reusing containers and planning meals.
A pile still has its place. It handles yard trimmings, bulky scraps, and products certified for home composting, which are tested in pile conditions. Our guide to home-compostable breakdown times explains that process.
Which Worms Are Best for Composting?
Red wiggler composting worms (Eisenia fetida) are the standard choice for home bins. Cornell’s worm composting basics describes red wigglers as surface-dwellers. They prefer the top 6 inches of soil, so a shallow bin suits them.
Not all composting worms suit a bin. CalRecycle notes that night crawlers do not breed well in captivity.
Avoid jumping worms entirely. The University of Minnesota Extension lists them as a prohibited invasive species in Minnesota. Jumping worms strip soil of nutrients and can kill plants.
Knowing where to buy composting worms matters as much as choosing the species. Buy from a reputable worm grower, local worm farm, or garden supplier that confirms the species. Ask for red wigglers by name, and pass on bait worms that aren’t clearly labeled.
How to Set Up a Worm Composting Bin
A worm composting bin is simple and low-cost to set up. You need a container, bedding, a little grit, and your worms. The EPA’s indoor worm bin guide walks through each piece if you want a second reference.
Choose a Bin and a Spot
Pick a shallow container with a lid. Red wigglers live near the surface, so width matters more than depth. Plastic storage totes and wooden boxes both work. You can also buy ready-made worm bins.
DIY worm composting can start with a tote you already own. EPA recommends drilling holes near the top to let air in. Holes near the bottom drain excess liquid, so set the bin on a tray to catch it.
Place your bin in an indoor spot, like a kitchen or basement. EPA recommends indoor bins so worms don’t freeze in winter or get too warm in summer.
Add Bedding and Worms
Fill the bin with shredded newspaper, plain cardboard, or uncoated paper. Skip glossy paper, since it often has coatings. Bedding gives worms a place to live and balances wet food scraps.
Moisten the bedding next. EPA recommends a mix that is very moist but not forming puddles of water. If water pools at the bottom, add more dry paper.
Then mix in about a tablespoon of clean soil or sand as grit. CalRecycle explains that worms have no teeth, so grit helps them grind food.
Add your worms on top of the bedding. CalRecycle notes that worms are sensitive to light, so they will burrow down. EPA recommends letting them settle for a day before you start feeding.
What to Feed Composting Worms
Feed small amounts, and bury each portion under the bedding. EPA recommends covering all food scraps, since exposed food attracts fruit flies.
EPA also advises adding more food only once the previous food is consumed. If scraps are too big, cut them into smaller pieces first.
Foods Worms Can Eat
-
Fruit and vegetable scraps, like peels, cores, and wilted greens.
-
Coffee grounds.
-
Loose tea leaves and plastic-free tea bags.
-
Eggshells, crushed into small pieces.
-
Bread, rice, pasta, and other plain grains in small pieces.
Foods to Keep Out of the Bin
Some foods attract pests, create odors, or harm your worms. EEK Wisconsin’s worm bin menu flags most of these, so keep them out of the bin:
-
Meat, fish, and bones.
-
Dairy products like cheese, milk, and yogurt.
-
Oily or greasy foods.
-
Citrus peels, which CalRecycle calls toxic to worms and Cornell says attract fruit flies.
-
Onions, which Cornell notes have a strong odor.
-
Pet waste, such as dog or cat feces.
-
Rubber bands and produce stickers.
EPA notes that worms will not eat plastic tea bags or produce labels. To see where that plastic ends up otherwise, read about plastic foodware in landfills.
Compostable cutlery needs care too. Our Compostable Agave forks are BPI Commercial certified for industrial facilities. Keep them out of your worm bin.
How to Keep Your Worm Bin Healthy
Most beginner problems come from too much food or the wrong moisture. Check on your bin regularly, and adjust before small issues grow.
If food sits uneaten, you’re overfeeding. EPA advises waiting until the previous food is consumed before adding more.
EPA recommends bedding that is very moist but not forming puddles. If the bedding turns soggy, add dry shredded paper.
Temperature matters too. EPA warns against letting worms freeze in winter or get too warm in summer. Cornell notes that worms need warm, but not hot, temperatures.
Fruit flies usually mean food is exposed. EPA recommends covering all food scraps to keep the flies away.
Odors often trace back to overfeeding or a food from the keep-out list. Cornell notes that meats, oils, and dairy attract pests, and onions have a strong odor.
How to Harvest and Use Worm Castings
Cornell suggests harvesting when the bin is filled with compost and very little bedding. Separate the worms from the castings so you can keep composting with them.
EPA and Cornell both describe a side-to-side method. Push the finished compost to one side, then add fresh bedding and food to the other. Once the worms move to the food side, scoop out the finished compost.
Cornell also describes a light-pile method. Dump the bin contents onto a sheet of plastic or paper. Exposed to light, the worms move down, so you can remove the top layer.
NC State Extension’s vermicomposting guide notes that vermicompost boosts the nutrients available to plants. It also improves soil structure and drainage. EPA suggests using finished compost in pots or your garden:
-
Mix it into potting soil for houseplants.
-
Spread it around garden beds, or work it into the top layer of soil.
Can Compostable Foodware Go in a Worm Bin?
Most compostable foodware doesn’t belong in a worm bin. TÜV Austria OK Compost HOME certifies products that compost at the lower temperatures of a garden compost heap. It doesn’t certify for worm bins specifically.
If you want to add something, stick to small amounts of uncoated paper or plain cardboard. Shred it first, and treat it as bedding. Send certified foodware to the pathway it was certified for instead.
Home and industrial composting work under different conditions, so the label matters. Industrial-only products need temperatures of 55 to 60°C, per TÜV Austria, so they don’t belong in garden compost. Our guide to home vs. industrial composting explains the difference.
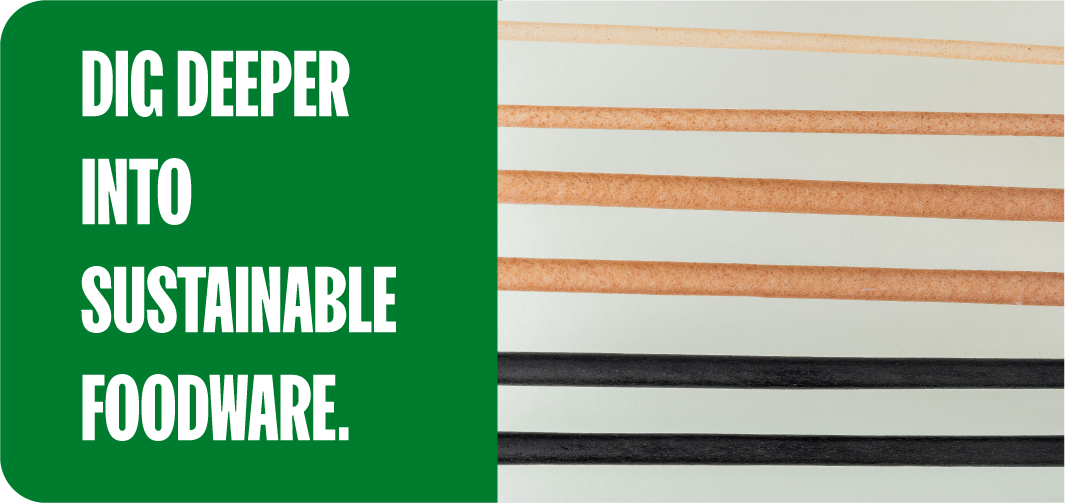
Greenprint® Compostable Agave straws are TÜV Austria OK Compost HOME certified. An enzyme masterbatch, added when we compound the material, helps it break down at ambient home compost temperatures. Our Compostable Agave cutlery and Fiberware™ products are certified for industrial composting only. They belong at a commercial facility.
We follow the FTC Green Guides and tie every compostability claim to a named certification. Our guide to composting certifications breaks down what each label means. If you keep a backyard pile, explore our certified home-compostable foodware for your next picnic or party.
FAQ
How Long Does It Take Worms to Turn Food Scraps Into Compost?
CalRecycle reports that worms can turn food waste into compost in about 8 to 12 weeks. A traditional compost pile takes about 6 to 9 months.
Are Coffee Grounds Good for Worm Composting?
Yes. Coffee grounds are on CalRecycle’s list of foods worms eat, so mix them in with other scraps and bedding.
Does a Worm Bin Smell?
A healthy bin should not smell bad. Odors usually come from overfeeding or foods like meat, dairy, and onions.
What Are the Downsides of Vermicomposting?
Worm bins need regular attention, and they can’t handle meat, dairy, oily foods, or most packaging. For packaging, see what happens to compostables without compost access.
References
- https://calrecycle.ca.gov/organics/worms/
- https://compost.css.cornell.edu/worms/basics.html
- https://extension.umn.edu/natural-resources/forestry-and-wildlife/invasive-species/jumping-worms
- https://www.epa.gov/recycle/how-create-and-maintain-indoor-worm-composting-bin
- https://www.eekwi.org/composting-worms
- https://composting.ces.ncsu.edu/vermicomposting-2/
- https://en.tuv.at/ok-compost-home-en/
- https://www.ftc.gov/news-events/topics/truth-advertising/green-guides


Illinois plastic bans and regulations explained: hotel bottle law, Chicago bag tax and foodware rules, local bans, and pending bills. Plan your compliance now.

Learn how to reduce carbon footprint at home with simple steps for energy, heating, food, and waste. Start with easy swaps your whole household can keep up.
Are styrofoam cups safe? See how styrene, heat, microwaving, and reuse change foam cup safety, and find foam-free cup options for hot and cold drinks.